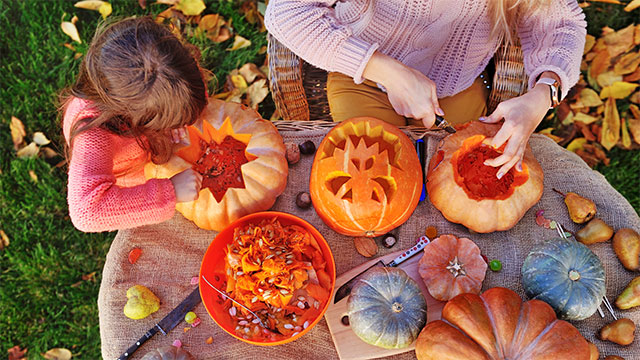
Pumpkin carving is a fun fall tradition. It celebrates seasonal harvest, allows us to express our creativity, and it’s a great opportunity for quality family time. Done right, pumpkin carving can even get you key ingredients for tasty fall snacks.

Let’s Dive In:
- Select a pumpkin that is firm, smooth (at least on the carving side), and has the right shape and size for your desired design. TIP: Be careful to resist the temptation to carry the pumpkin by its stem! While it seems like a great handle, a heavy pumpkin may cause the stem to snap and the pumpkin to crash to the ground.
- Cut off the top of Pumpkin. Use a serrated knife, electric knife, or if you want to get really into it, a handheld jigsaw. Cut at an angle so the top of the “lid” is wider than the bottom to keep it from falling into the pumpkin while on display. Also, cutting a small notch at the back can help you orient the lid when you go to top off the final product.
- Hollow out and thin the pumpkin. Here’s the step where you also harvest the ingredients for those tasty treats! First, scoop out all the seeds and accompanying goop – set aside to make roasted pumpkin seeds. Using a metal ice cream scoop, sturdy metal spoon, scraper from a decorating kit, or spoon with a serrated edge to scrape along the inside of the shell. Continue removing excess pulp or meat until the pumpkin walls are about 1 – ¾” thick. This will make the pumpkin easier to carve. Set the excess pulp you scraped out of the pumpkin (but not any of the stringy goop) to the side to create a pumpkin puree.
- Create your pattern. If you want to create a pattern ahead of time, first create the pattern on paper. You can draw the design with a marker, use a retracted pen to create indentations, or poke holes with a small skewer or screwdriver around the pattern you’d like to carve.
- Carve and shave the pumpkin. A flexible serrated knife works well for carving. If you want varied amounts of light to come through to create “shading”, you can scrape away the outer skin and/or some of the meat instead of carving all the way through. Clay or linoleum block tools from an art supply store work well for shaving instead of carving. Save any large pieces you cut out to make some pumpkin puree. TIP: Putting an extra design on the back can be a fun way to create art from the shadows when the jack-o’-lantern is lit up at night.
- Light it up! While tealight candles are traditional, fairy lights or LED candle substitutes are safer options to display your new pumpkin art. Use several candles/candle substitutes to get good light coming out of the pumpkin!
See our Roasted Pumpkin Seed recipe to turn the guts of the pumpkin into tasty snacks!
To create a pumpkin puree from the pulp you scraped off the pumpkin:
- Steam or boil the pulp until soft
- Strain through a colander to get the nice, smooth consistency of pumpkin puree.
To create pumpkin puree from carved pieces:
- Roast the pieces in a 350° oven until fork-tender
- Remove the outer orange skin.
- Puree in a blender. If it looks too dry, add water, or mix with some of the wetter pulp you steamed or boiled.
Use this puree in any pumpkin recipe – but we suggest trying it in Pumpkin Pie Truffles.


